
Scaffold Mapping Tools: Installation Guide
How to install SPARC's scaffold mapping tool
Windows Installation
- Download the scaffold mapping tools installer.
Note: The scaffold mapping tool is released at a particular version, when new releases are made the version number changes. For these instructions we substitute x.y.z for the actual version number. For example, a release may have the version number 0.17.2. This number would appear anywhere x.y.z appears in these instructions.
Note: This application does not yet have Microsoft certification. This means we have to go through extra steps to install the application where we reassure Microsoft Windows that the application is in fact safe to download and use.
When this installer starts to download, click Keep for it to download completely.

You are also required to click Keep anyway on the pop-up window.

-
Locate and double-click on the application executable (.exe) file. (It will usually be in your Downloads folder.)
-
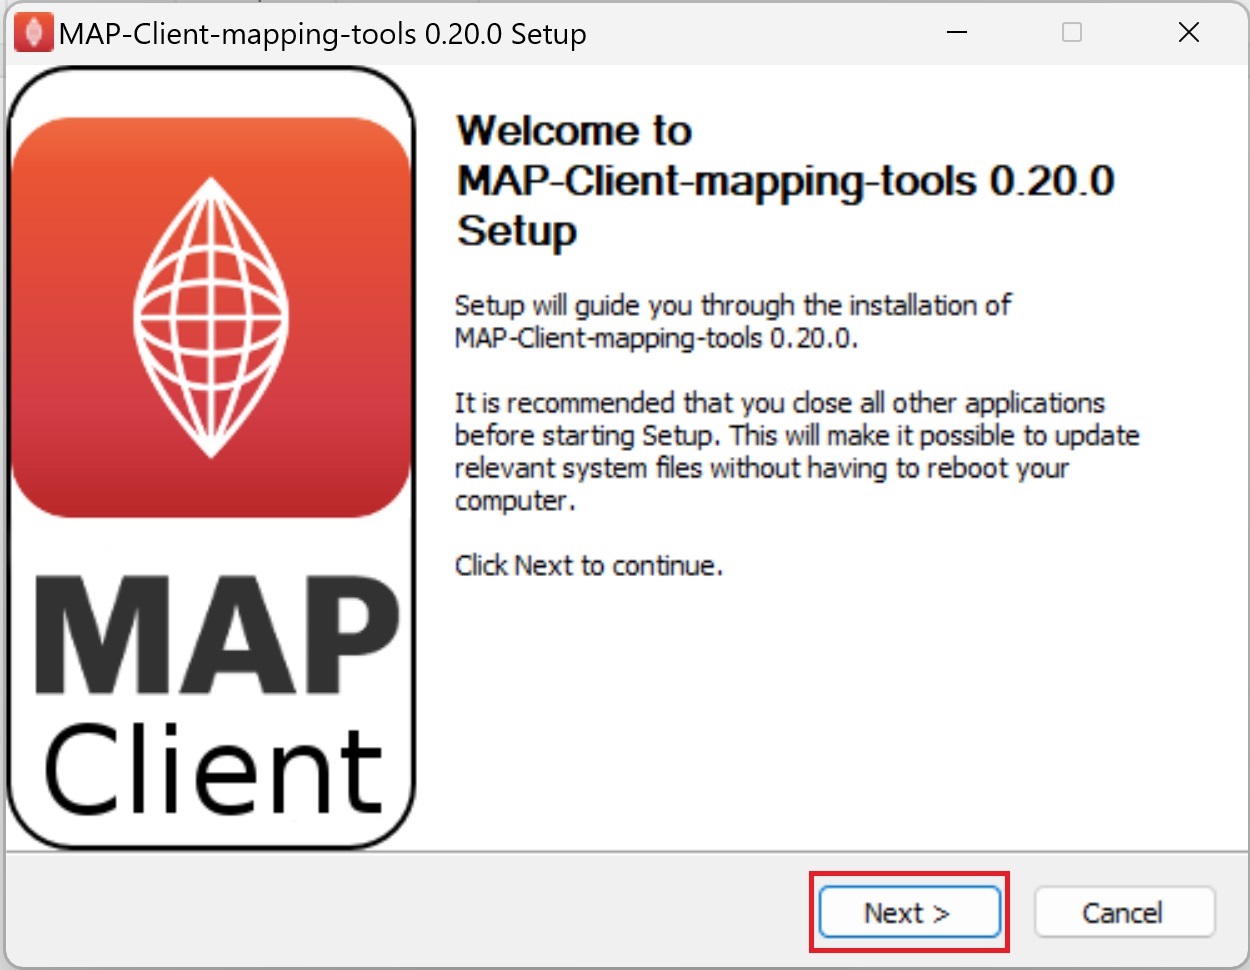
A setup dialog box will appear. Follow the instructions to install this application.
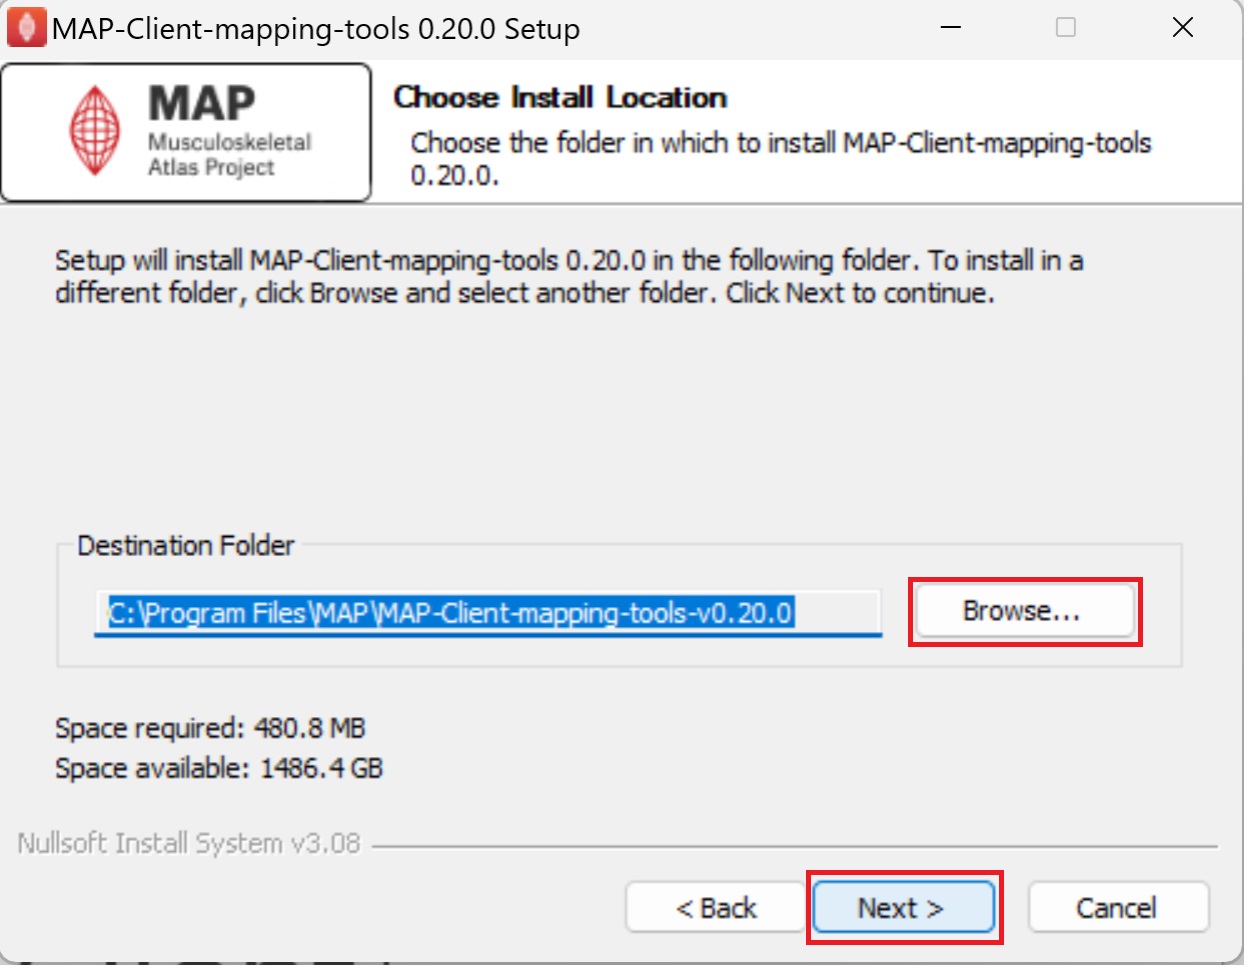
You may choose the default folder location (C:\Program Files\MAP\MAP-Client-mapping-tools) to install this application and click Next to continue or click Browse to install it in a different folder.
Next select the installation options. Click Next to continue once the installation options have been set to the appropriate setting.

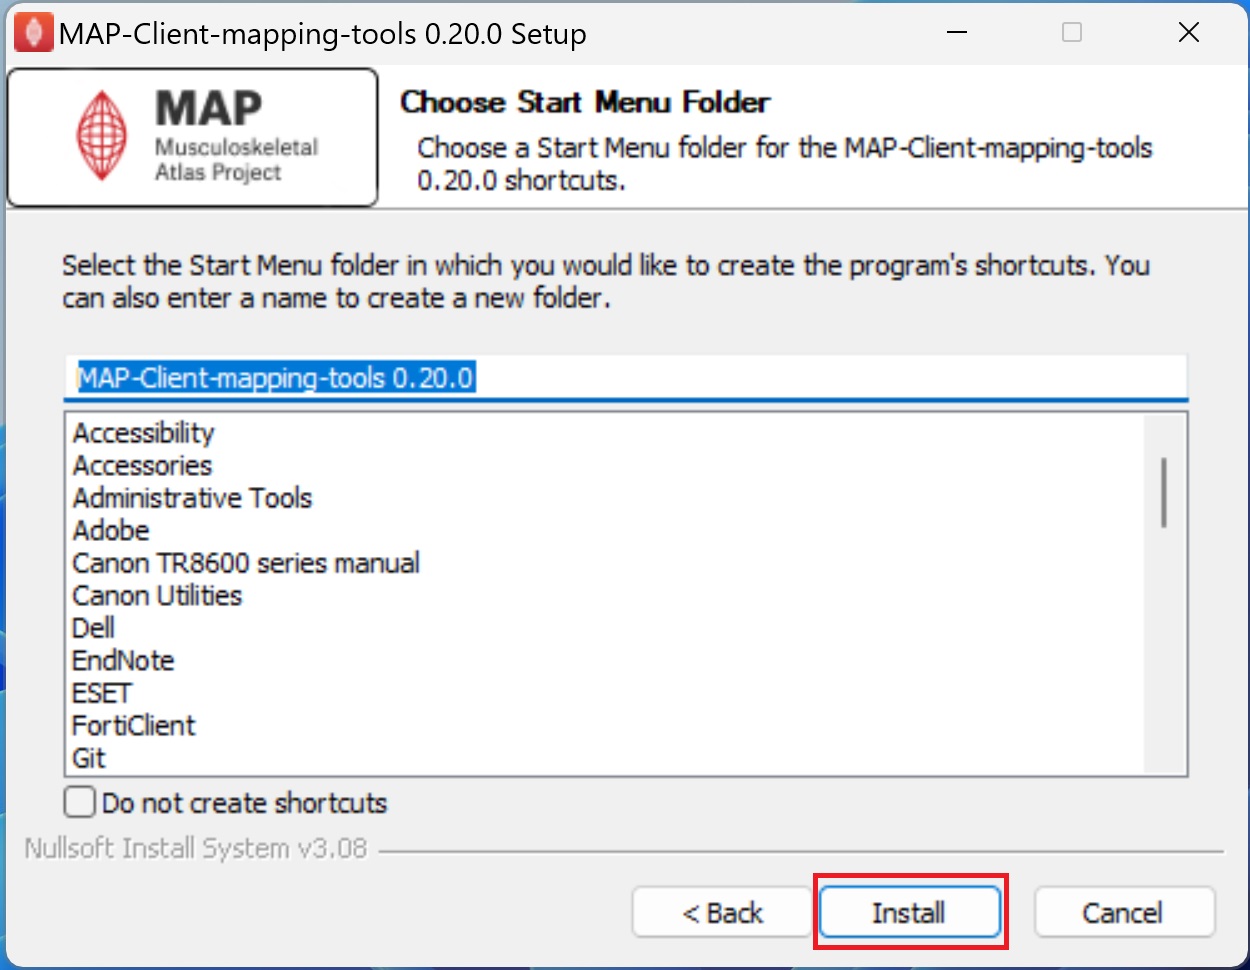
Next, set the Start Menu folder in which to install the application shortcuts. Click Install to start the installation.
The application will take a short amount of time to install.
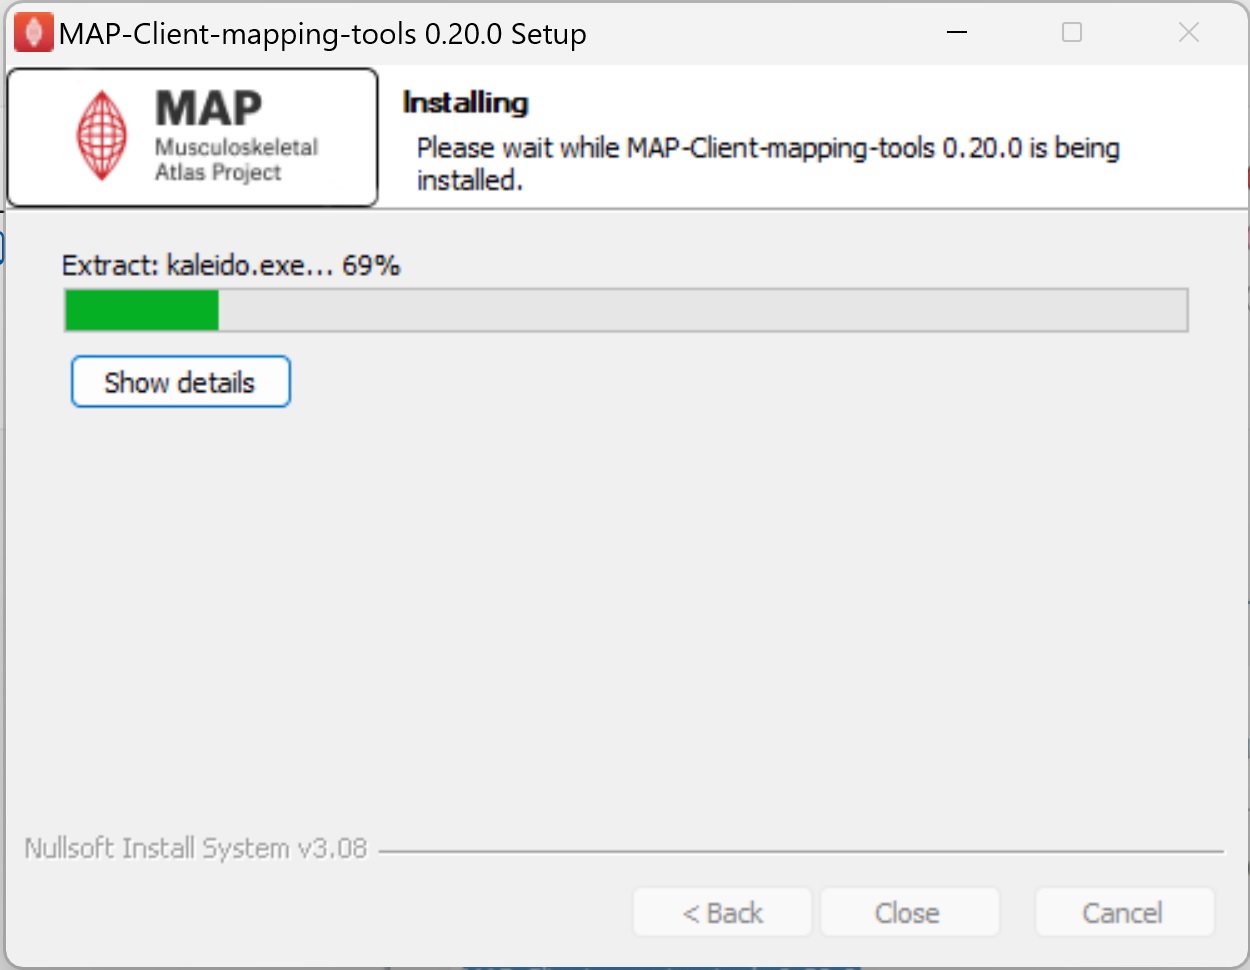
When the application has finished installing, click Close to close the setup window.

Updated 5 months ago
Take a look at the tutorials that use the mapping tools: https://docs.sparc.science/docs/map-core-scaffold-mapping-tools#demonstration